How do I Add a Player to my Roster?
Introduction
Walkthrough
Step by Step
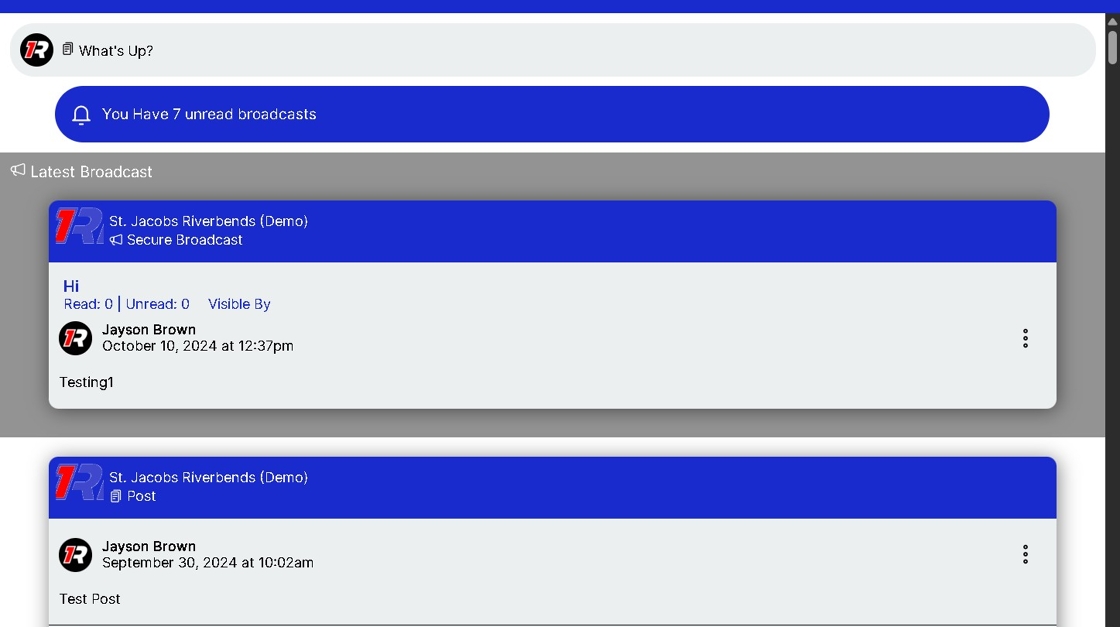
1. Navigate to https://app.1rink.com and Navigate to your Team Portal
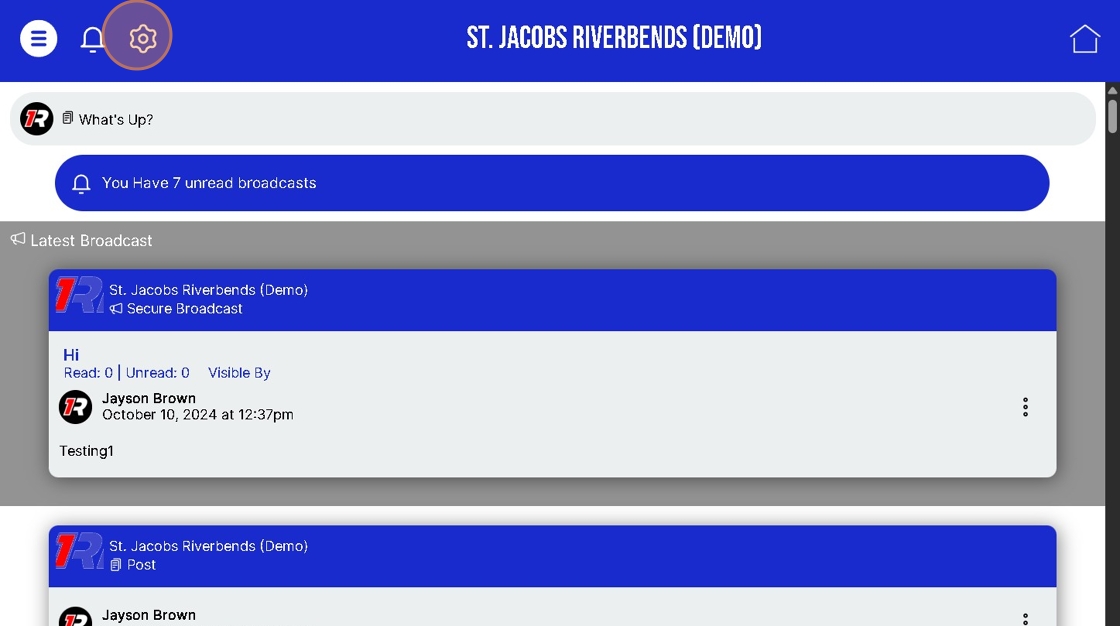
2. Click here to access your Team Portal Settings screen
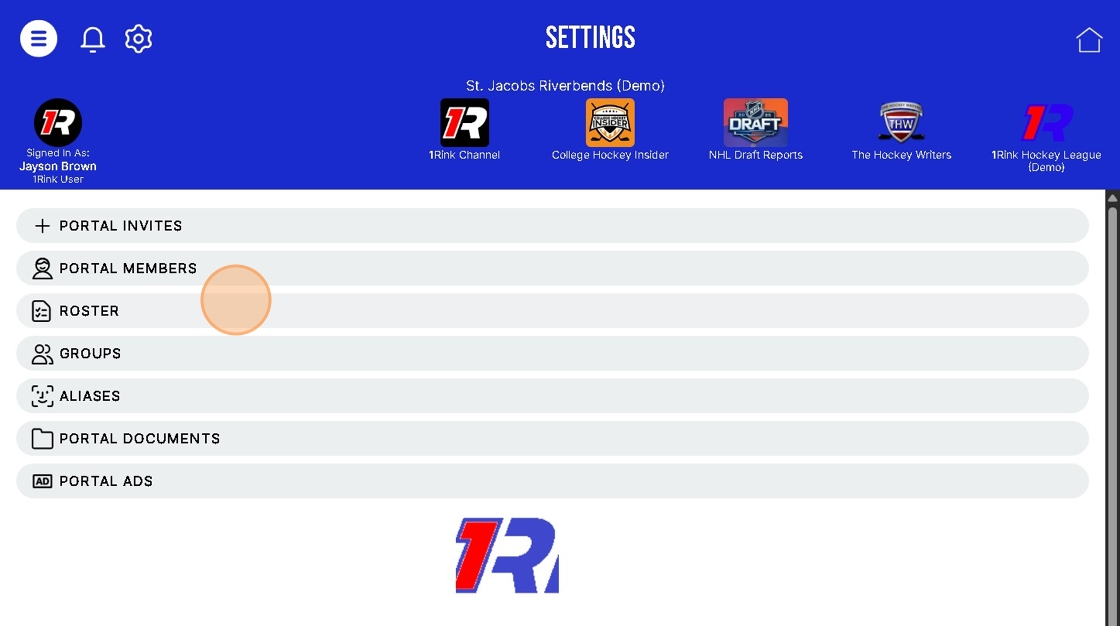
3. Click here to select ROSTER
4. Click here to Add a Player that you do not see on your Roster List
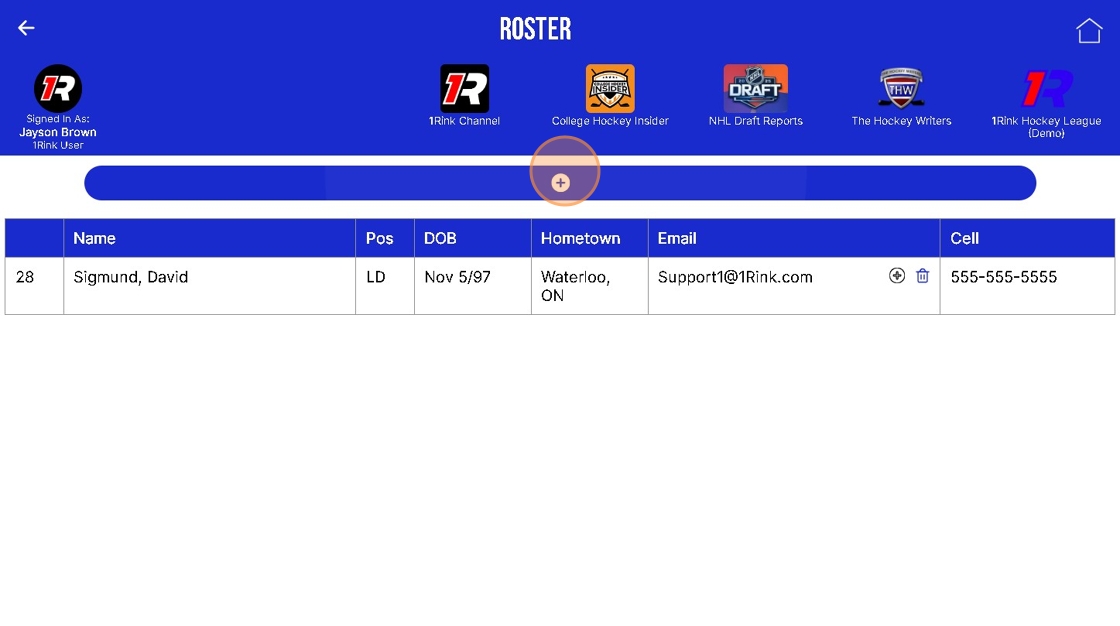
5. Click the "Search" field.
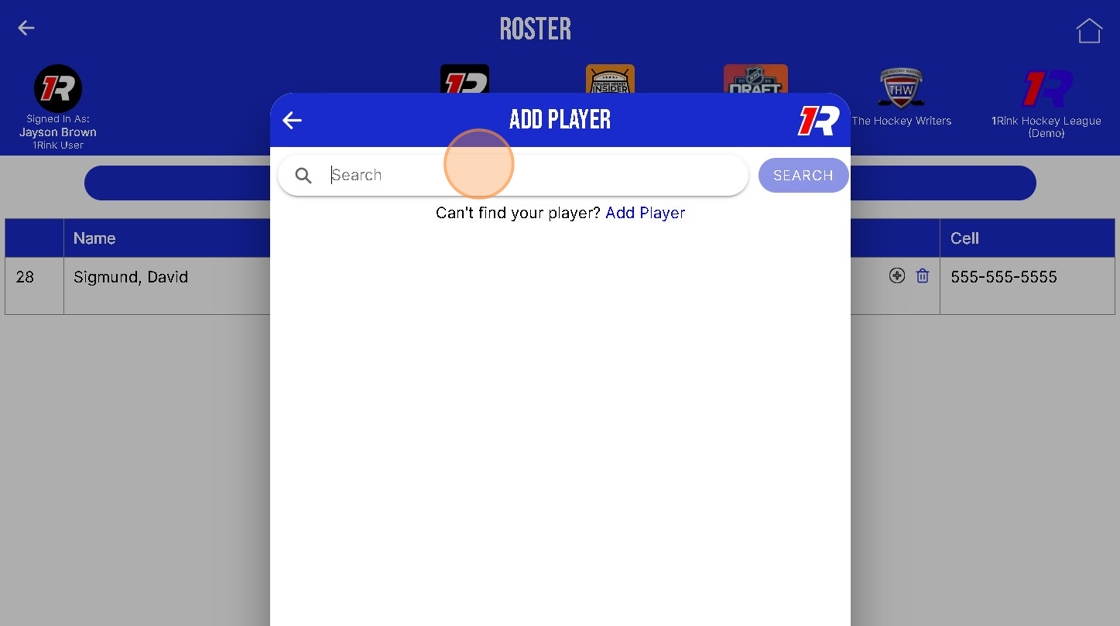
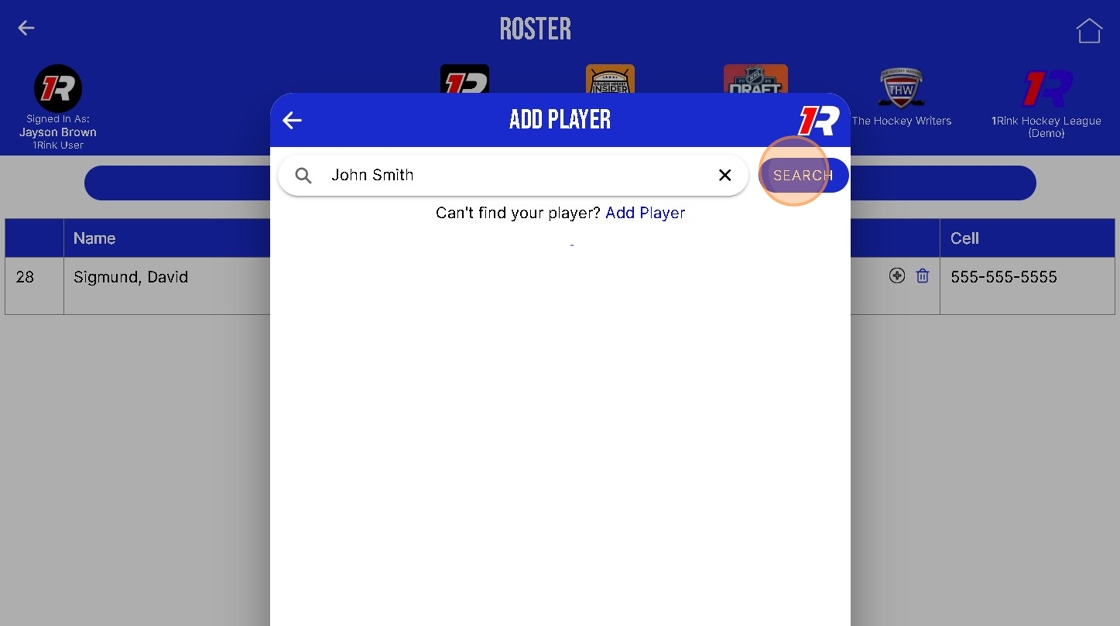
6. Type "John Smith" the name of the player you are trying to Add
7. Click "Search"
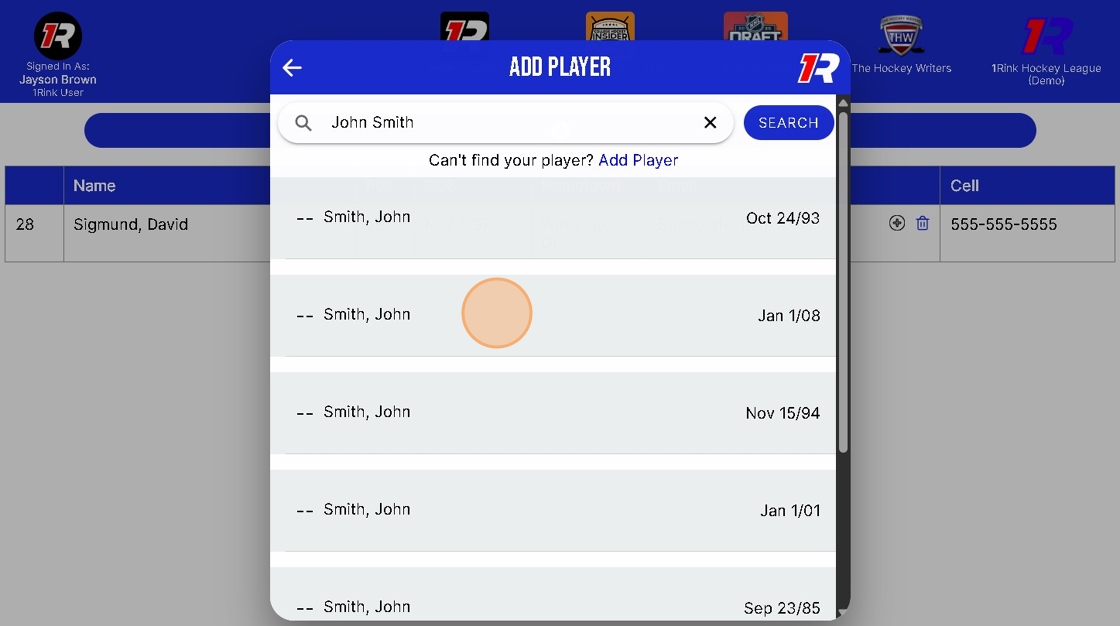
8. Click "Smith, John" -- Find and select the player based on their Date of Birth
9. You can also Add a Player that is not found when Searching
10. Click here to Add a Player
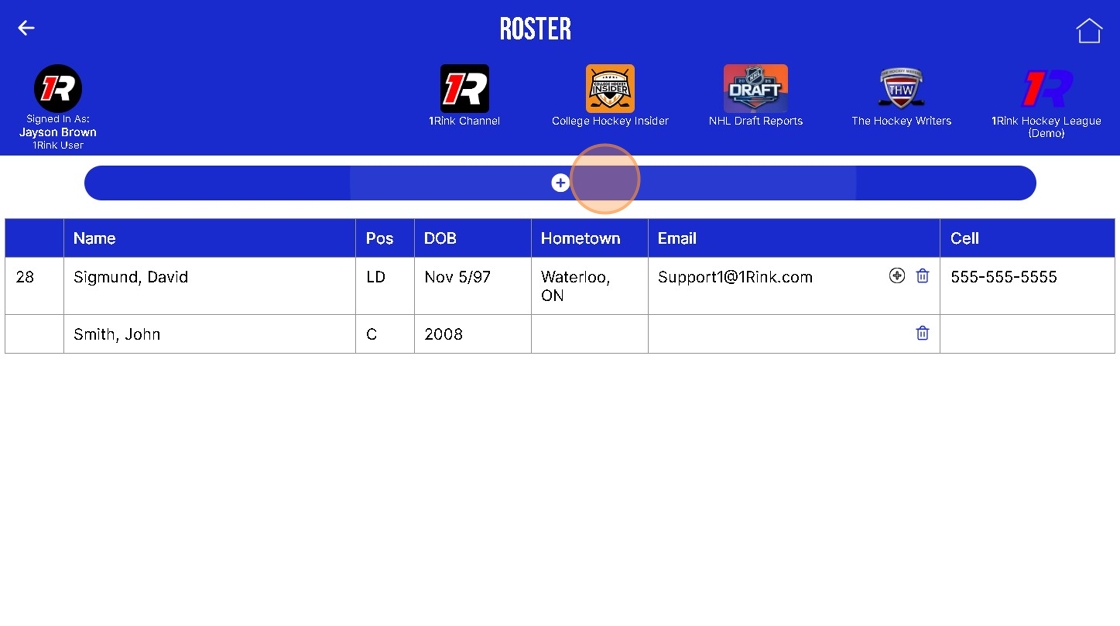
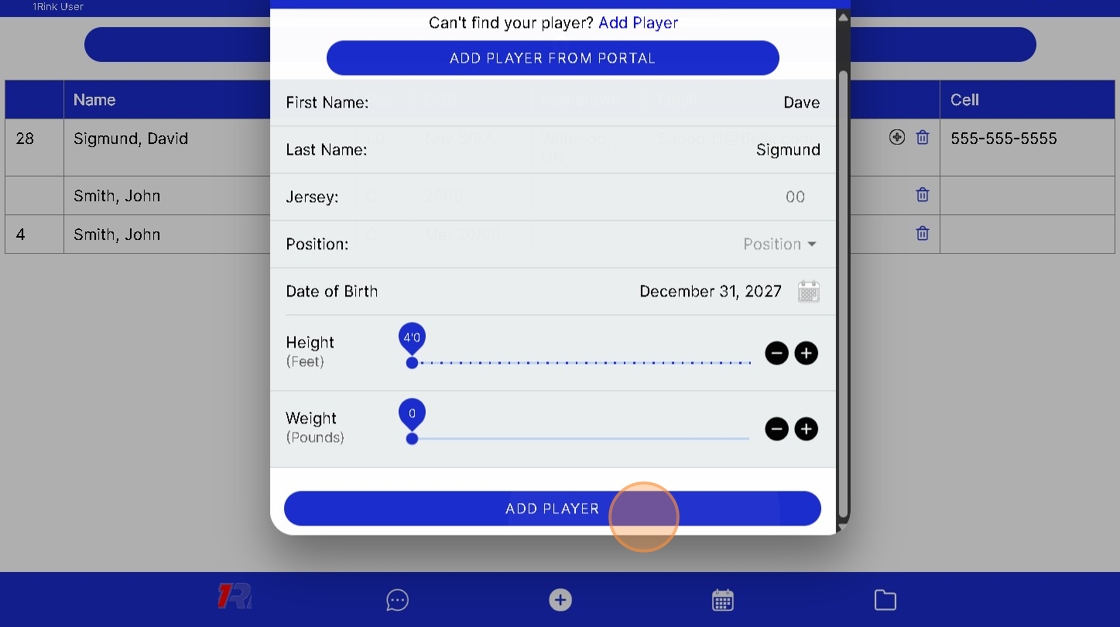
11. Click "Add Player"
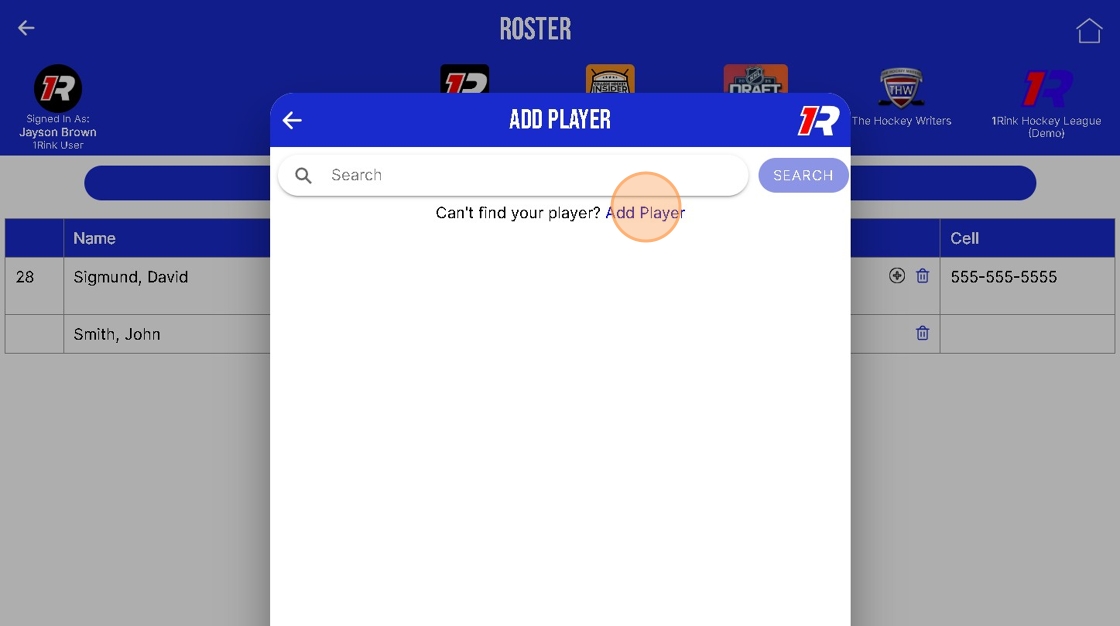
12. Click the "First Name" field.
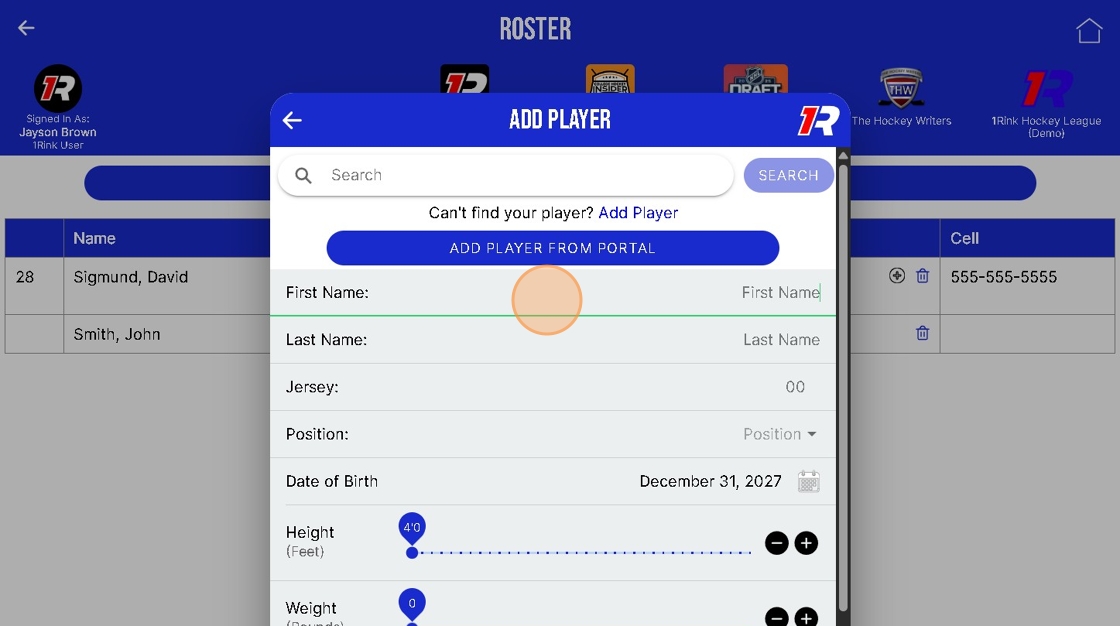
13. Type the player's Information First Name, Last Name, and Date of Birth being the most important Fields to Enter as this will help match the Player to a RinkNet profile.
14. Click "December 31, 2027"
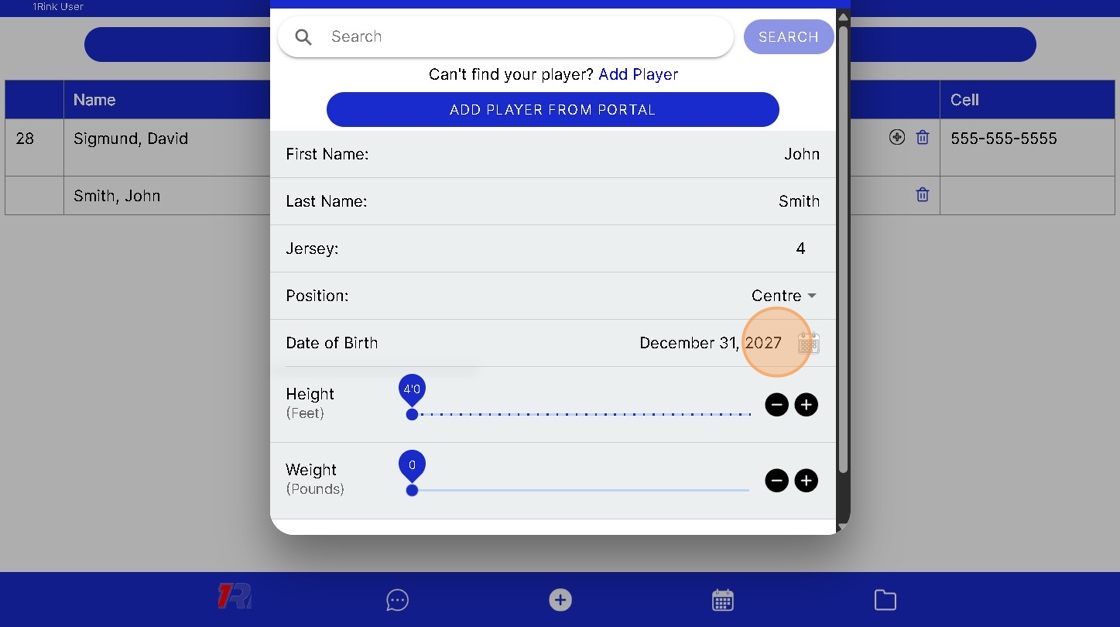
15. Click here.
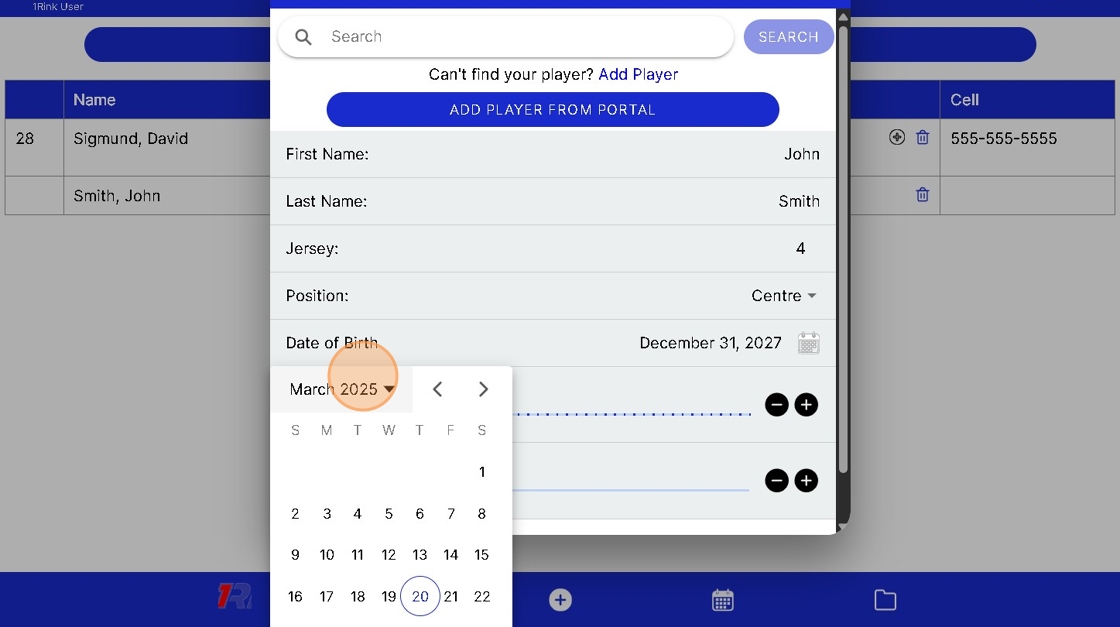
16. Scroll through the Years and find the correct year for the player
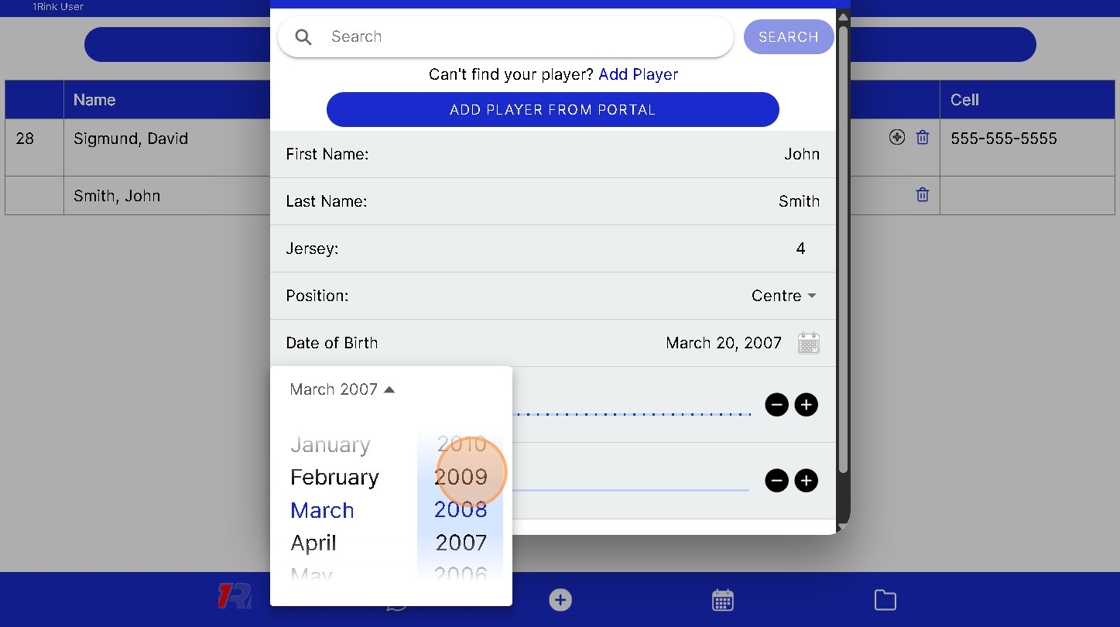
17. Click "Add Player"

18. You can also Add players that are already in your Team Portal based on Emails
19. Click here.
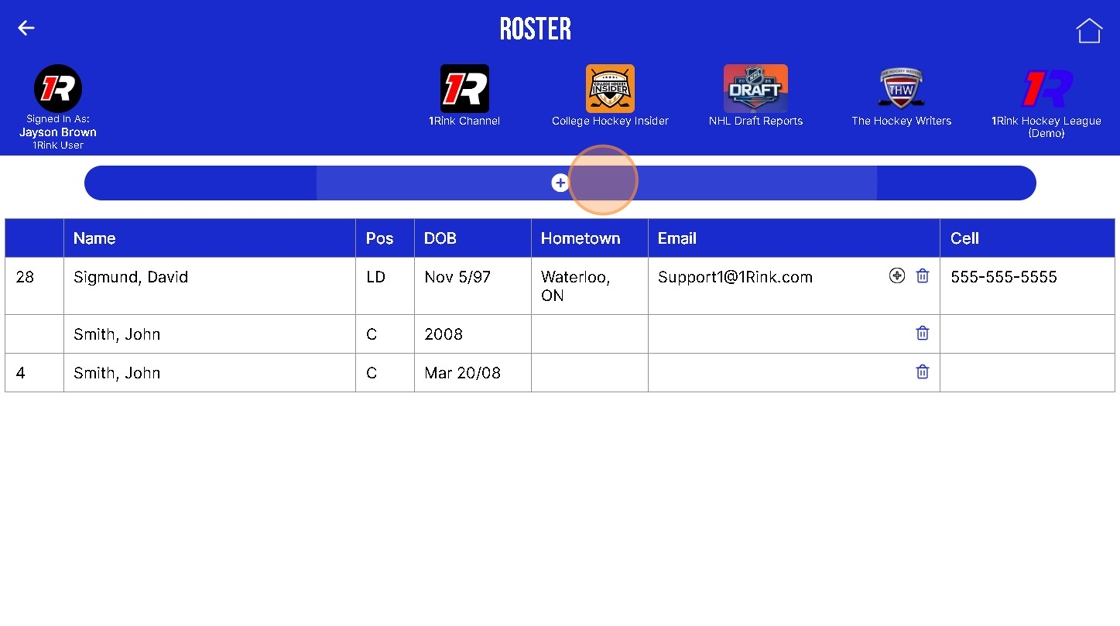
20. Click "Add Player"
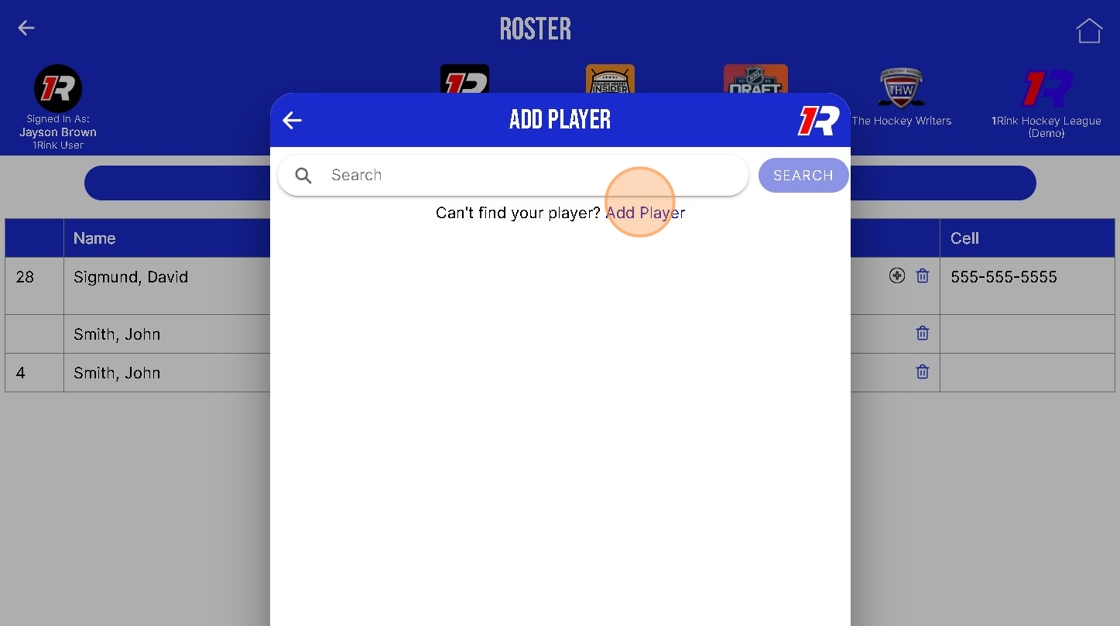
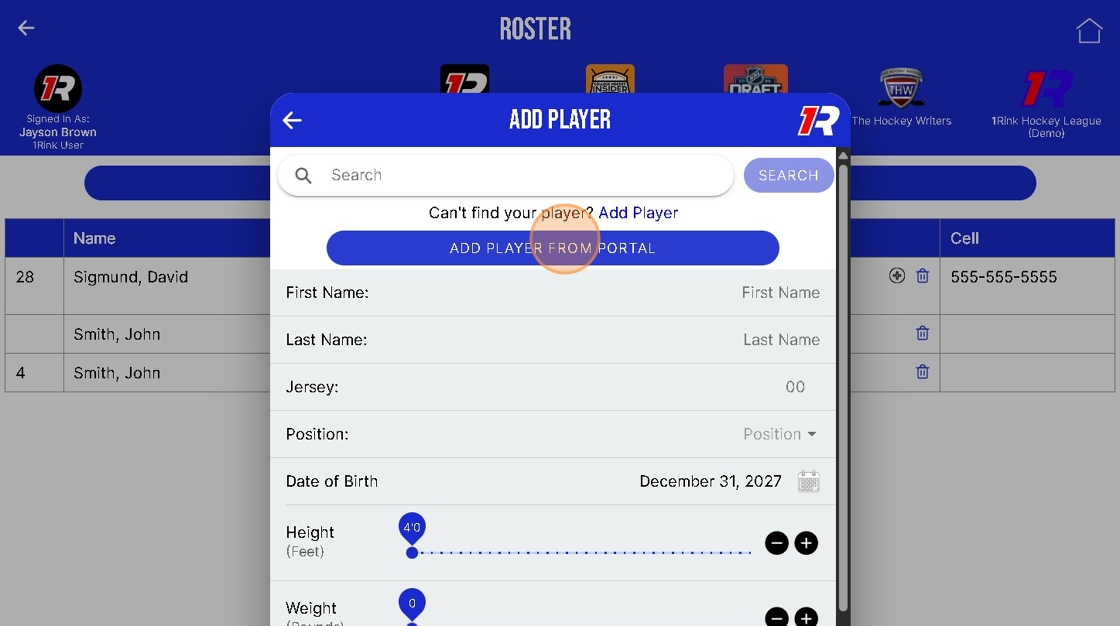
21. Click "Add Player from Portal"
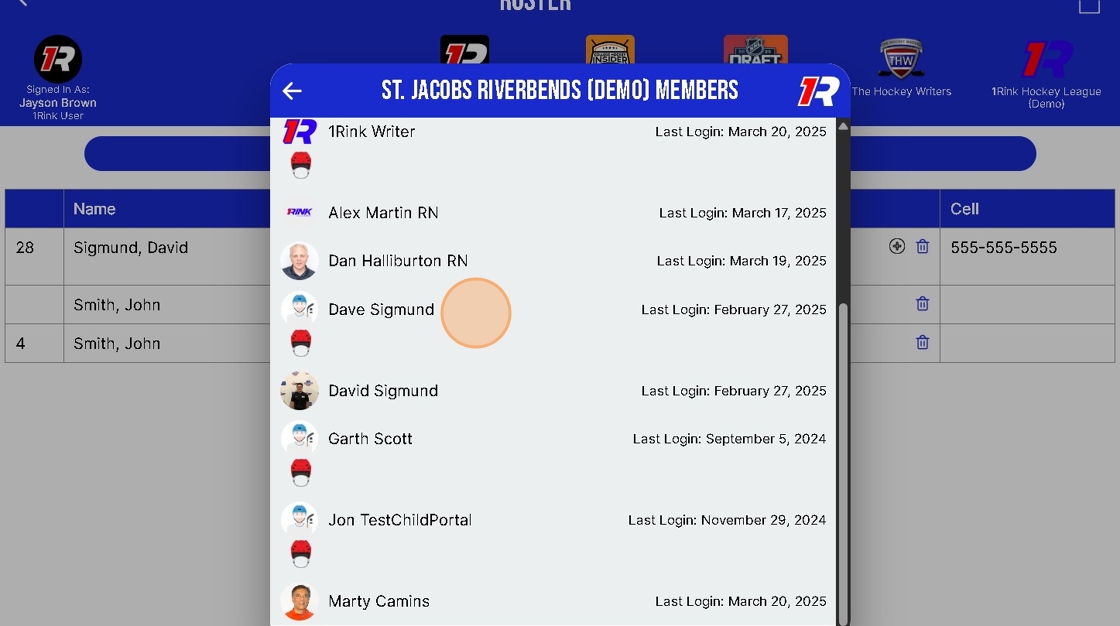
22. Find and select the Player that has been invited to the Team Portal already -- Players usually are indicated by the Hockey Helmet symbol.
23. Click "Add Player"